6 Tips for Beginners
1. Start with Your Eyes and Binoculars
You don’t need an expensive telescope to begin exploring the night sky. Start with your naked eye to learn constellations and bright celestial objects. Binoculars (7x50 or 10x50) are also a great way to see more detail before investing in a telescope.
2. Learn the Night Sky
Familiarize yourself with major constellations and bright stars. Use a star chart or a mobile app like Stellarium or SkySafari to help you navigate the sky. The best time to observe is on a clear night away from city lights.
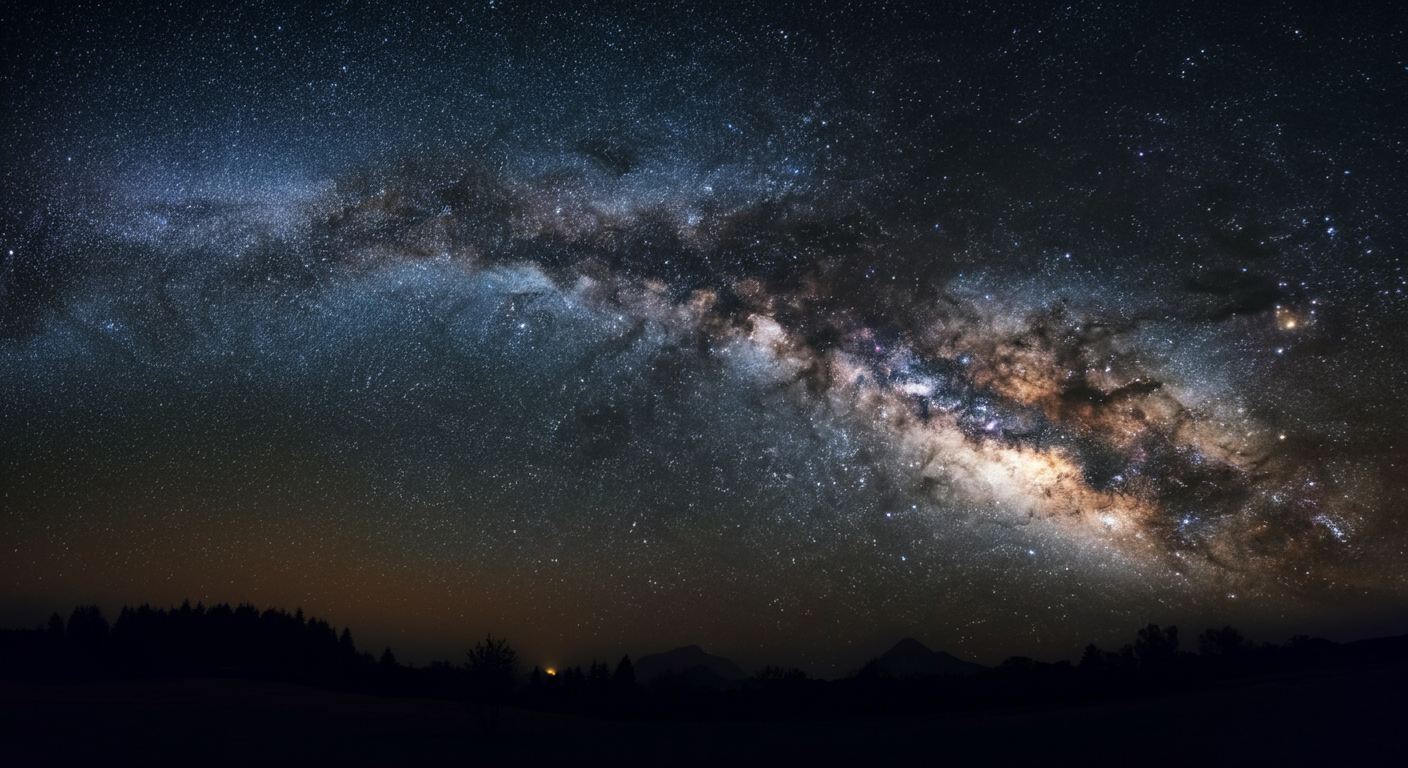
3. Find a Dark Sky Location
Light pollution affects visibility, so try to observe from a dark-sky location. Check light pollution maps or visit local astronomy clubs' observing sites. The darker the sky, the more you’ll see.
4. Use Red Light to Preserve Night Vision
Bright white lights ruin night vision. Use a red flashlight or cover your flashlight with red cellophane to help your eyes adjust to the darkness while reading star charts.
5. Understand Telescope Basics Before Buying
If you're ready for a telescope, research different types:
Refractors – Good for planets and the Moon, with clear and sharp views.
Reflectors – Best for deep-sky objects like galaxies and nebulae.
Dobsonian Telescopes – Affordable and great for beginners.
6. Observe Under the Best Conditions
Avoid nights with a bright Moon when looking for faint objects.
Check weather apps for clear skies before heading out.
Planets, the Moon, and bright star clusters are best viewed even from light-polluted areas.
Star Party Etiquette

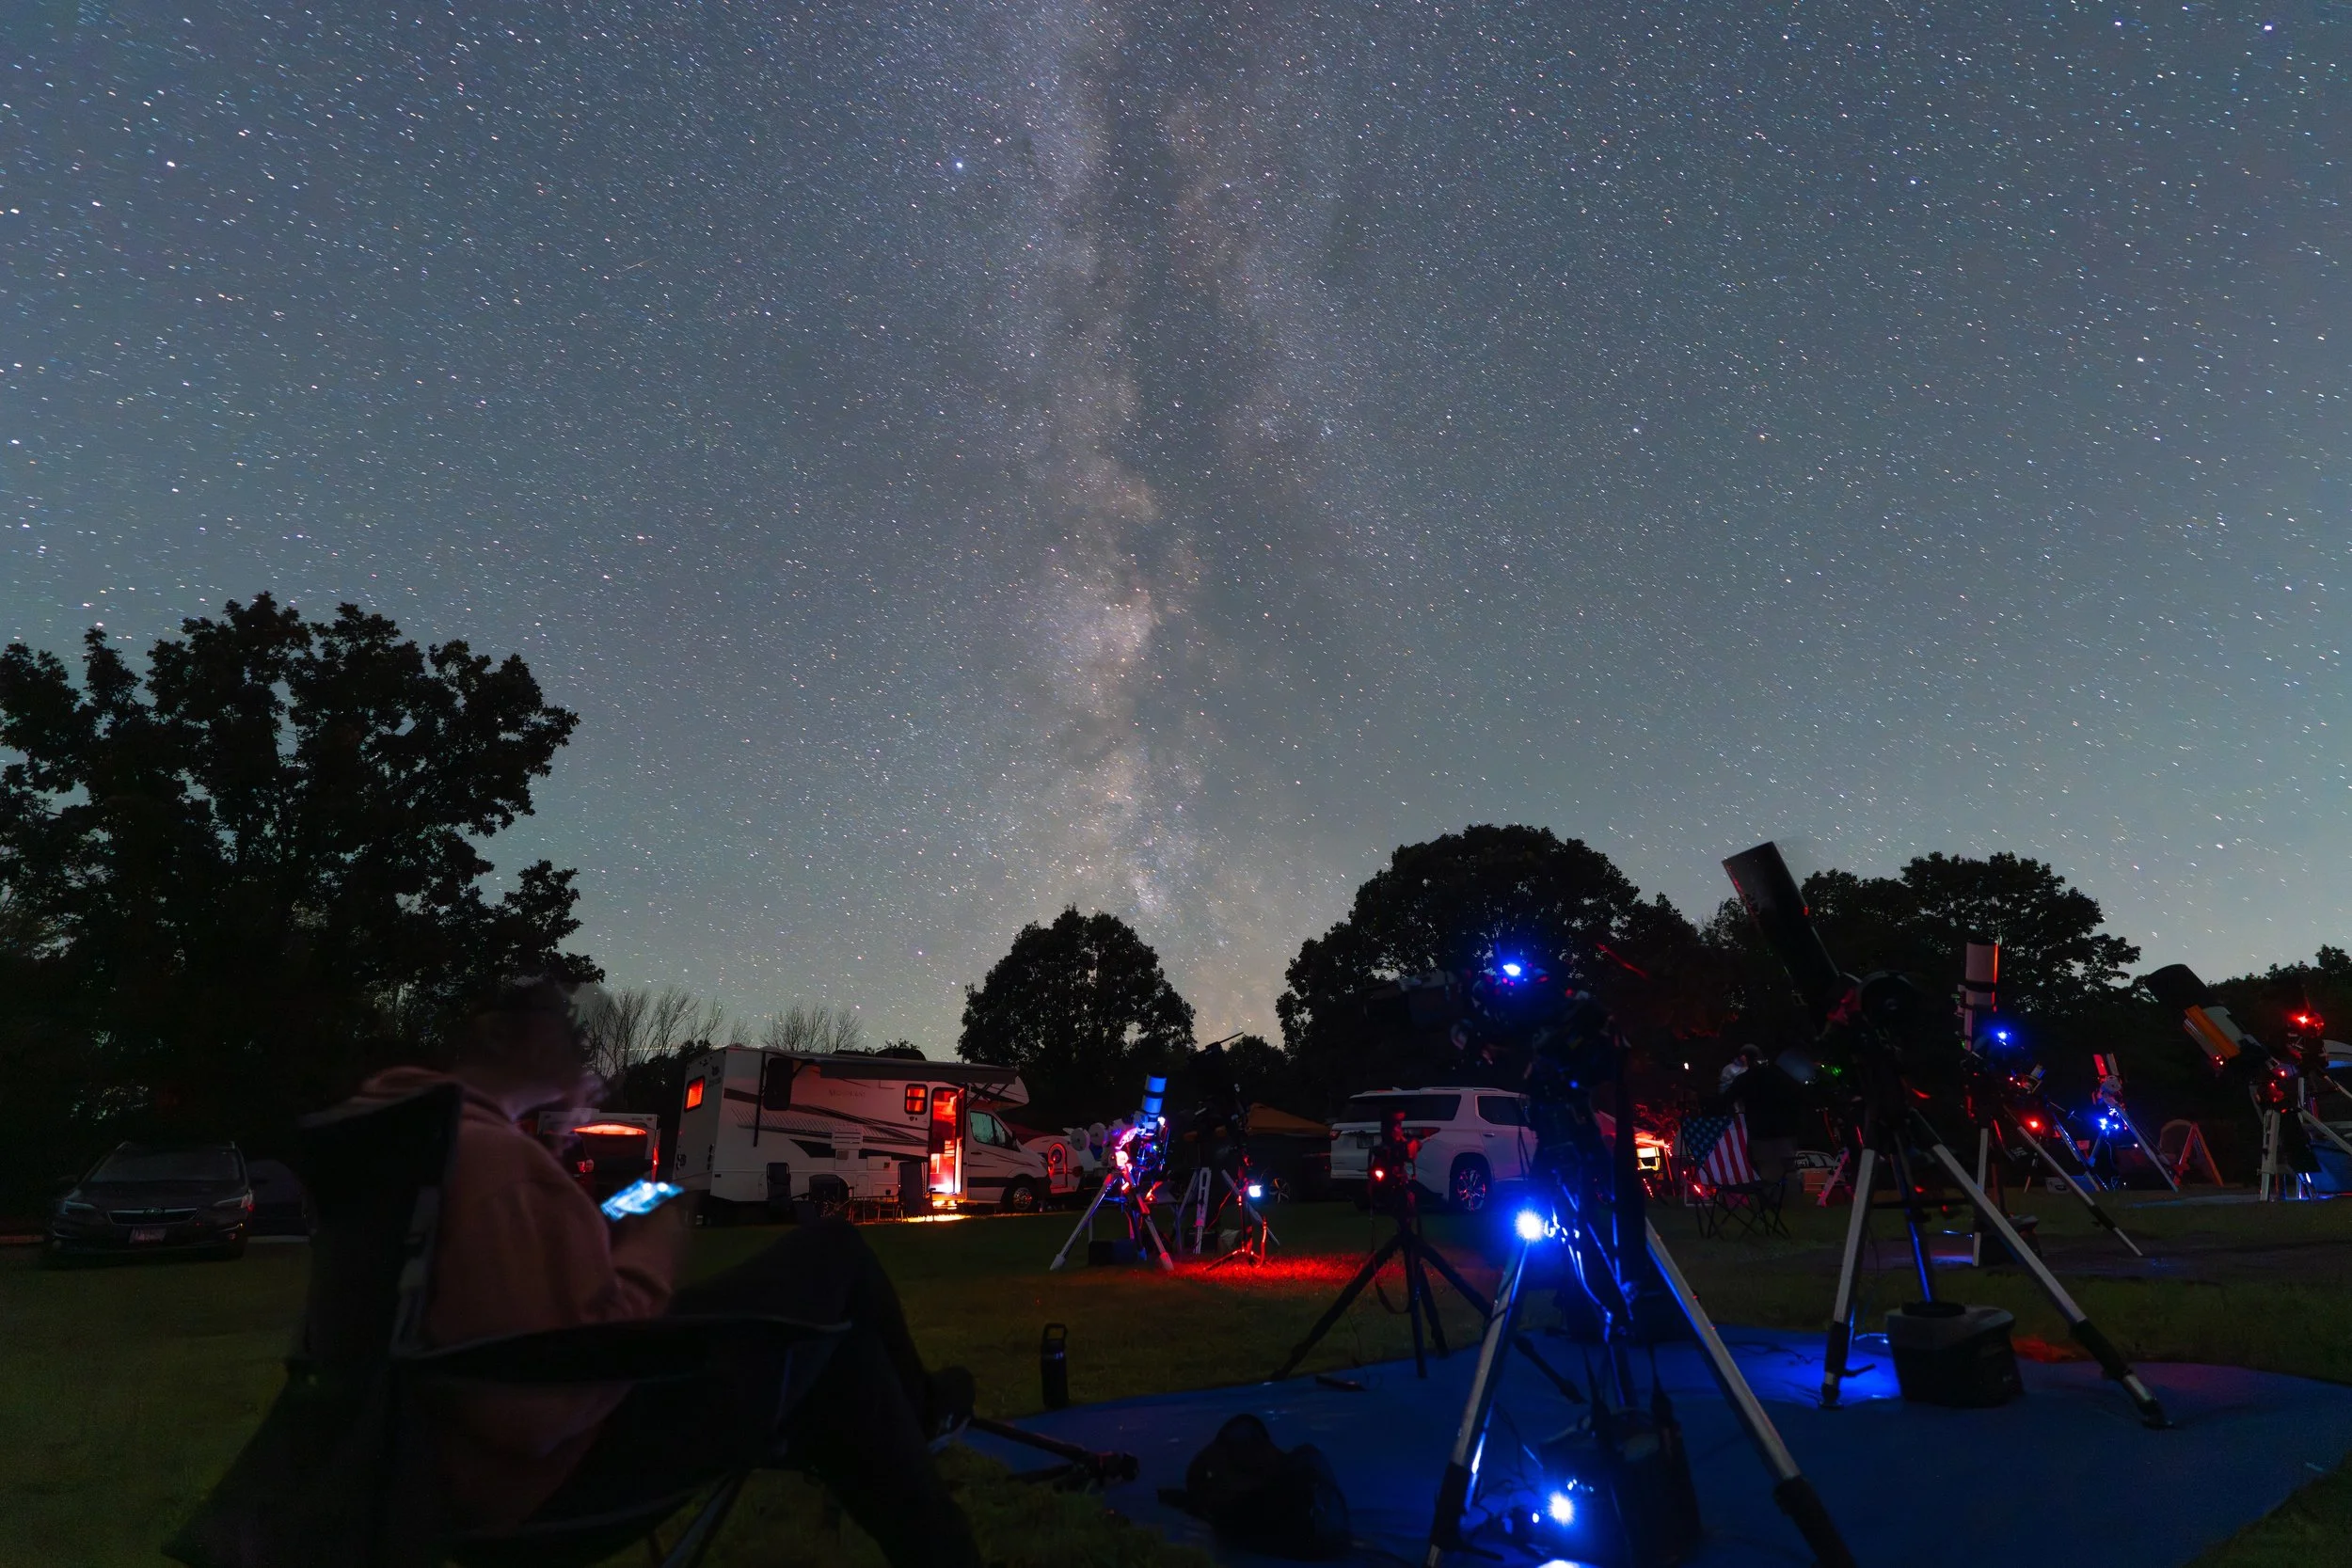
If you attend a star party:
Arrive before dark to set up.
Plan to park your car appropriately so when you leave, your headlights are pointing AWAY from observers.
Bring only yourself and people you can trust. Having unattended children or pets running around can be disruptive.
Use dim red lights only, NO white lights. This is to preserve your night vision as well as observers vision.
No lasers
No open flames
Dress warmly, as nights can get cold.
and don’t forget…
Have Fun and Be Patient!
Astronomy is a skill that improves with time. Take it slow, enjoy the experience, and keep looking up!
For more resources and upcoming star parties, stay up to date on our site NSAClub.org.